Ficinus here! please read the first two installments of this series about 3D Printing if you have not already! Day 1! and Day 2! For the rest of you who are caught up, as you might remember, my biggest problem with printing is the cold. Little did I know that my problem would be solved very easily.
Starship Clutterprise Captains Log January 8th 2014
My day starts off with a visit from the big man, Josh Kimberg. Our dialogue goes something like this:
Me: "All my prints are getting fucked by the cold!"
Josh: "Did you open the heat vent? I closed it over winter break."
Me: "Oh....right....the heat vent..."
As much as I would love to blame Josh for closing the heat vent in the first place, I can't help but reflect on my own stupidity. In the end, it was a good lesson. Now I know that the temperature and air conditions are a big factor, it will come in handy later.
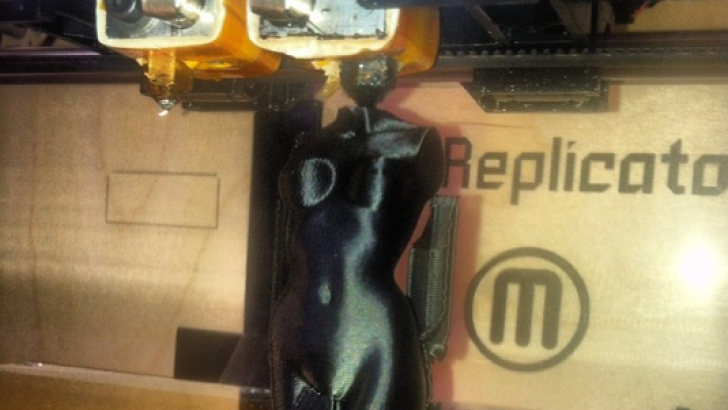
With the heat vent open and the 3D Printer ready to go, I decided to search for something more complex to print. I wanted it to be round and curvy, I found this fine lady and her intimate details: The Pink Panther Woman

By printing her, I proved that this machine could easily prototype toys. I mean come on, just looks at that ass…
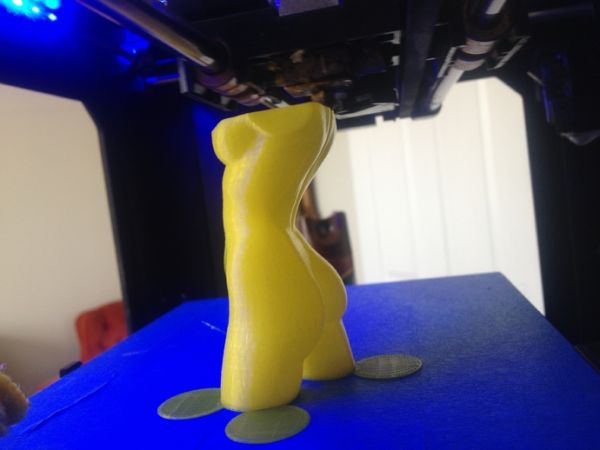
If it can print a round ass I could certainly print cartoon eyes! So I decided to delve deeper into printing round shapes and found this super useful calibration test: Surface Finish Calibration Test Print
The instructions page for that test is very useful and educational. In it he talks about how to manually set up your printer for different surface finishes. Remembering that I'm the stupid monkey that didn't open the heat vent for two days, led me to try and redeem myself by pretending I know what this guy is talking about. I entertained his smart person ideas for the day and tested a 200 and 340 micron print. I think I was previously printiing in 100 micron.

(The image above I pulled from Thingiverse and did not print myself) As you can see in this image, different settings will yeild different smoothnesses.

Above are the settings you can manually change in ReplicatorG when generating Gcode for the Printer. The process looks like this:

Once you have your file in ReplicatorG, after downloading it from the Thingiverse, you simply click "Generate Gcode". Once you do that, this window appears and you can either stare blankly at it, or actually change the settings. In this case I just plugged in the setting from the chart above and gave it a rip!

In this test I was able to get really good results by referencing his information. I suggest anyone who has their own printer to save his instructions page, it's a great resource for beginners and those looking to dive deeper. So enjoy that little gold nugget and rejoice in the splendor of the open source 3D Printing Revolution!
Tune in next time when I talk about 3D scanning and printing LEGO compadable peices!
As always Instagram #Ficinusdesigns
Categories:
Similar posts
-
 Thursday, March 17, 2016 - 5:35pmHow CUTE is this ice cream toy and why hasn't this been produced yet? It's called Jr Scoop and it's the product of Brutherford Industries and
 -
 Tuesday, February 2, 2016 - 2:54pmWhat is this? A city for ants? Actually, it's a new Kickstarter project which recreates NYC on a 1:5000 scale using microscape's own "aerial scan data".
 -
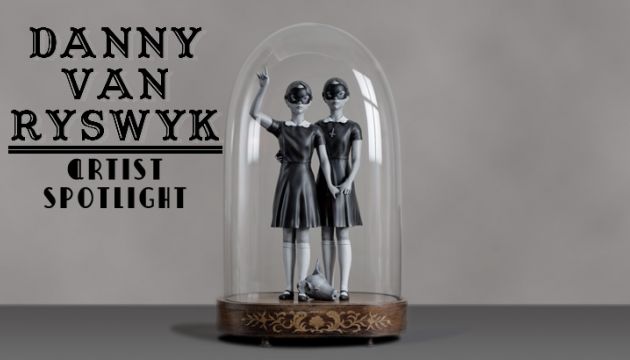 Friday, January 29, 2016 - 4:07pmTwin girls, one wearing an inverted cross while the other curls her fingers into the sign of the horns, a decapitated pig head at their feet.
 Clutter is a FREE monthly print publication covering all things Designer Toy and Sub-Culture art. Founded in 2004 in the good old United Kingdom, Clutter moved to NYC in 2009 where it continues to grow.